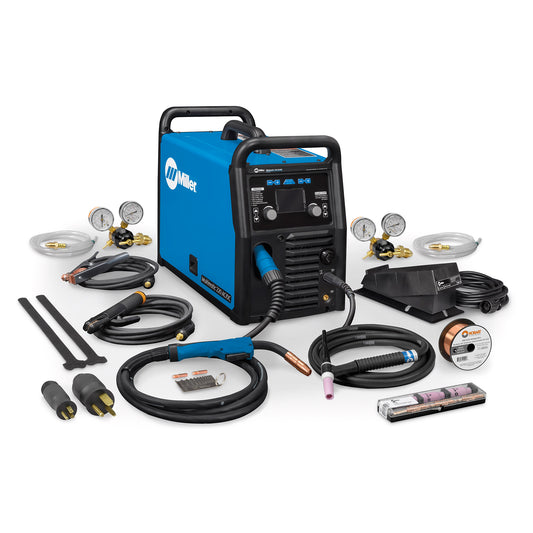
Want to improve your mobility on the job while also taking on a new welding project? A great way to do that is to build your own welding cart for your Miller Welder! Why? Building your own cart lets you customize it specifically to your own machine and your own needs. This could also save you money compared to purchasing one if you can get the materials together at a low cost.
The Process

1. Make a Plan and Create Your Design
- Measure out or check the dimensions of your machine as well as determine the amount of space you will need for any other equipment you want to store on your cart.
- Sketch a design accounting for compartments for things such as gas cylinders, cables, electrodes, and other accessories.
- You could consider adding things like shelves, hooks, or cable organizers into your design.

2. Gather Materials
- Once you have a design you can determine the materials you will use. You will want to make sure you are using sturdy materials that will last.
- You will need to make sure you have every tool you need such as a grinder, measuring tools, cutting tool/saw and your welding machine.

3. Building Your Cart
- Use a cutting tool to cut the metal pieces according to your design
- Weld the frame and additions such as shelves securely into place

4. Adding the Fine Details
- Use the grinder to smooth out any rough edges or pieces on the design
- You can add paint or powder coating to help protect the cart as well as giving it your own design.
- Add the casters or wheels to the base and you should be all set!
Inspiration
Check out this great example of a homemade welding cart that Jared P showed off in a recent product review for some inspiration! Thank you for sharing this with us and great work!


