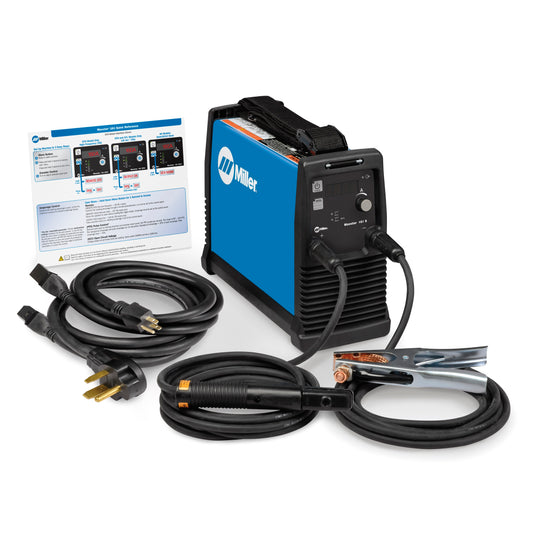
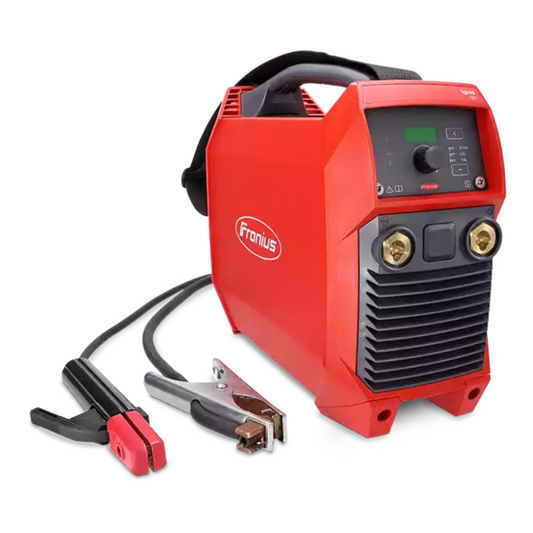
The TIG welder is most easily recognized by the bright, white electrical arc that it produces. The TIG welder was designed for continuous welding of certain metals such as stainless steel and aluminum. During the process of continually welding, the TIG welder can become very warm in the area of the torch handle if there is not a supply of cooling water being used. When TIG welders are going to be used continuously, a constant supply of water is necessary to keep the torch handle at a temperature that can be comfortably held by the welder. If you don’t already have a water cooling system for your TIG welder, we’re going to provide you with the instructions on how to build one.
What you’ll need: an open container for the water basin (10-15 gallons in size), a submersible water pump (3-5 gallons per minute, with 1/4 inch fittings), 1/4 inch clear plastic tubing (40-50 feet in length), and 3 small hose clamps (for 1/4 inch fittings).
The first thing you will need to do is to set the cooler basin next to the TIG welder location and place the submersible pump inside. Remember that the closer the cooler is to the torch handle assembly and torch cord, the easier it will be to attach the tubing carrying the water to the TIG welding torch. Once you are satisfied with location of the cooler basin, you should now remove the outer jacket that covers the torch cord in order to expose the gas tubing and the electrical conductor. Snapping open the jacket all the way will expose the two copper fittings located on the lower end of the torch handle. These copper fittings will be used to conduct the water in and out of the torch handle.
Next you will need to unroll the 1/4 inch tubing and attach one end to the fitting on the torch handle, securing it in place using 1/4 inch hose clamp and screwdriver. Once the tubing has been secured you will now run the tubing down the length of the torch cord until it reaches the submersible pump located inside the cooler basin, remove any excess tubing and attach the tubing to the pump’s output fitting using another hose clamp. Now, you will need to attach the remaining tubing to the other copper fitting located on the torch handle. This tubing will drain the water that will run back into the cooler basin. Secure the tubing in the same manner as you previously did. You will also need to cut the tubing so that it can easily rest inside the cooler basin.
The final step is to reattach the cover of the torch cord and ensure that the tubing fits properly inside the covering. Fill the cooler basin with fresh cool water and cover the top of the basin with a piece of plywood to keep any debris from landing in the clean water. Plug the pump into the power supply and ensure that the water is flowing and draining properly. Once you have done all of this, you now have a TIG water cooling system.
NOTE: To avoid burning up the submersible pump, you’ll want to check the water level of the water basin each day before running the TIG welder to ensure it isn’t low from evaporation or leakage.


