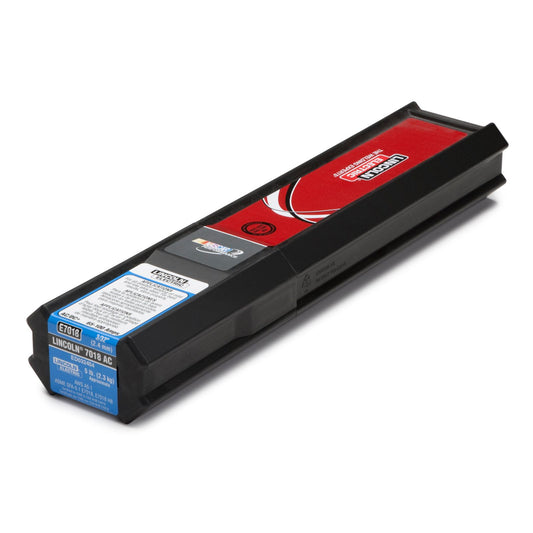
Here’s a list of 9 top tips that will help you pass your 3G Structural Welding Test (using a 7018 rod)
- Most structural welding tests require a 22.5 degree bevel (also known as a 45 degree including angle) on the two plates you will be joining together, with a 1/4 inch gap between the two pieces, and 1/4 inch backing plate. 1/4 inch gap is pretty wide, but this is so you’re able to lay the 1/8 inch rod into the bevel section between the two pieces. You need to make sure your gap is wide enough to avoid excessive burn into the side walls of the bevel, or down into the backing plate.
- Use a grinder to remove the mill scale from the welding area of subject materials, grinding down to clean shiny metal on both sides of weld bevels and the backing plate. This is not technically a test requirement, but a good idea because it’s the ideal field practice, and evaluators are looking for that kind of behavior and attention to detail.
- Plan ahead for placing your tie-ins. You don’t want to put your tie-ins on your root bend. Ideally, you want to place them just a touch off-center.
- The angle and height of the plate when you’re welding is important. Make sure you don’t put the plate up to high relative to your physical height, it just makes the process that much harder. Evaluators expect you to position the test plate straight up-and-down, but you can usually get away with up to a 5 degrees angle. You don’t, however, want to angle the plate toward you (that’s almost like welding overhead), but you should be able to get away with angling the plate about 5 degrees away from you, which will make the rising angle a touch easier to handle as your weld travels upward.
- Body position is important, because the more comfortable you feel, the easier the process. The consumable rod will become shorter as you weld, and you need to be comfortable with the body motion necessary to adapt to this shrinking action. It’s best to use something to prop up the rod as you weld. If don’t have any suitable object handy, you can prop up the rod with your finger (using something like a Tig Finger to shield your finger) as your weld travels upward. Take a few dry runs to make sure you’re conformable with the movements necessary to execute the weld.
- File down the tip of your 7018 rod, especially if you’re going to restart a rod that’s already been used. 7018 rods don’t restart well, as they tend to form a slag cover over the end of the rod. With a file, you can remove the slag coating and create a better starting surface.
- You want your root pass makes contact with each side of the beveled edge, to ensure the weld adequately penetrates the side walls and backing plate, and creates solid weld.
- When you clean the weld with a file or slag hammer, you don’t want to peck at the weld bead, because you’ll end up with divots, dents and dings. Instead, use the file and slag hammer to rake down each side the of the weld bead to clean up the weld and remove slag.
- If allowed (you may not be), use a grinder to clean up the weld bead, especially at start points and tie-ins.
For more resources on preparing for and passing a structural welding test, and for other welding certifications, visit the “Welding Certification – A Basic Guide from Structural to Pipe Welding Certifications” page at GoWelding.org.


