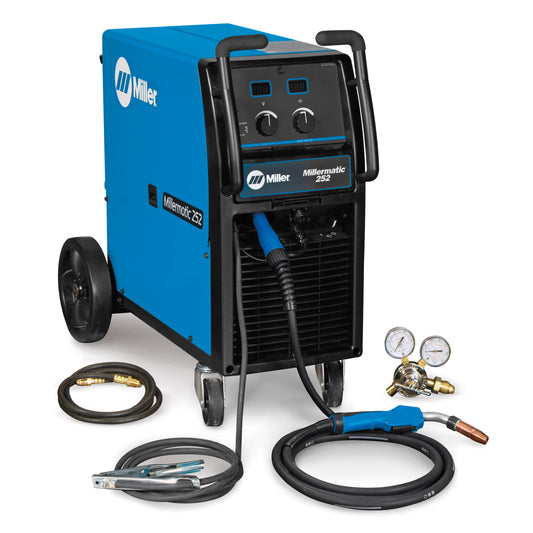
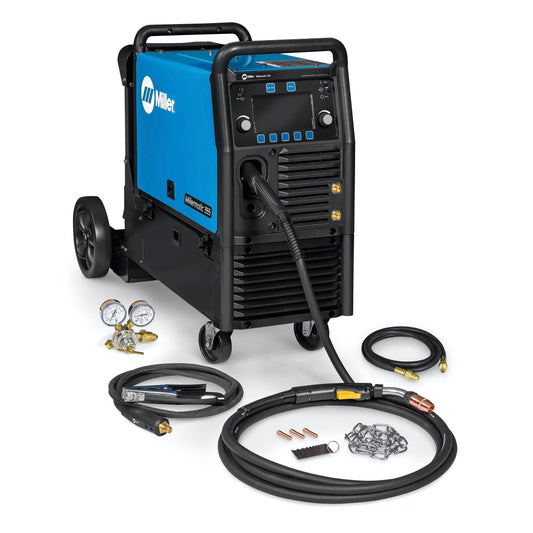
Joining two pieces of dissimilar metals can be somewhat tricky; however, TIG, MIG and stick welding are all capable of successfully welding steel pipe to stainless steel pipe. The important thing is to know which types of electrodes will produce the desired weld; for MIG welding using an E70 electrode will hold the pieces of pipe together and a 7018 electrode for stick welding will do the same. But in order for the weld to seal properly, a high-carbon stainless steel electrode must be used. The preferred electrode to use when the joint needs to be sealed is a 309 electrode. This electrode will ensure that the weld has good penetration and seals properly.
To begin welding steel pipe to stainless steel pipe you should start by cutting the end off of the welding wire that may be sticking out of the welding tip of the MIG welder. This can easily be trimmed using wire cutters. Next you will need to back spool the welding wire in order to remove the welding wire from the MIG gun and lead. Once you have back spooled the welding wire and removed it from the gun you will now need to load the welding gun with the 309 welding wire. Now that your welding gun is loaded with the proper wire, your next step is to exchange the gas with the three part shielding gas mixture needed for this type of welding. To ensure that the gases have been properly mixed, you should lay the tank on its side and gently roll it back and forth. Once you are satisfied and feel that the gas has been thoroughly combined you can then attach the gas gauges to the gas cylinder.
Now that your shielding gases have been properly attached, you can now power on the MIG welder and set the heat and wire speed to the proper setting. Because welding stainless steel requires a higher level of heat than carbon steel, you will need to look at your welding guide to determine the proper heat level for stainless steel. Once your machine is set for stainless steel, you should test it on a scrap piece of metal to make sure that everything is working properly. When you feel that your machine is properly set you can now begin to weld the two pieces of pipe together.
You should begin your weld on the stainless steel pipe and pull the weld puddle onto the carbon steel pipe. Roll your MIG gun in a circle pattern to flow the puddle while dropping 1/8th of an inch at each down stroke to create a roll of dimes weld. While welding you should watch the bottom of the weld to ensure that proper penetration is being achieved. If you notice that the carbon steel pipe is under-cutting, you need to reduce the heat setting on your MIG welder and repeat the process. If reducing the heat setting fails to improve the level of under-cutting taking place, you should speed up the stroke of your circle so that you can pull the heat away from the steel pipe. Doing this should help rectify the under-cutting and leave you with a strong sturdy weld.
Once the weld is completed you should inspect the entire surface of the weld to ensure that there aren’t any defects or weak areas. If you should happen to notice any defects you can go back and remove the weld and do it again. With some experience you should be able to master this welding technique and your welds will improve each and every time.
Related Products
Checkout a few machines that can tackle a job like this here.
Any consumables you may need can be found here.


