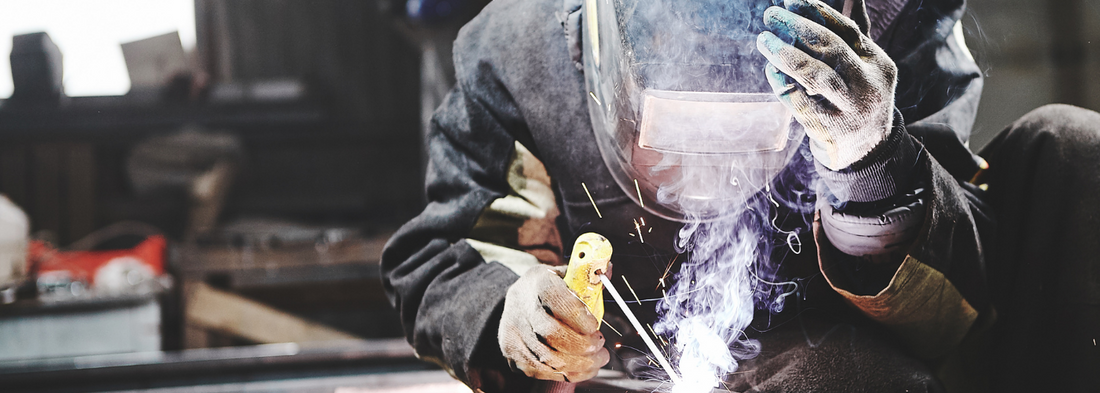
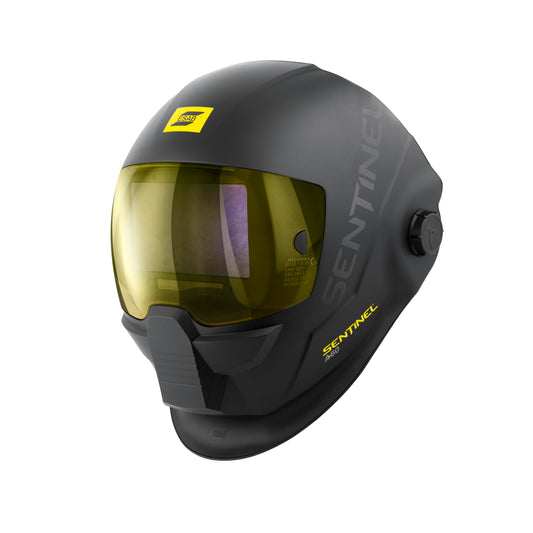
A welding helmet is one of the most important pieces of safety equipment that a welder uses. An auto-darkening welding helmet features a lens that instantly darkens to protect the welder’s eyes from the harmful UV light that is created during the welding process. Many auto-darkening welding helmets feature settings that can be used to compensate for the different types of welding and the different levels of light created by the welding arc. Here are some tips on how to properly set an auto-darkening welding helmet to ensure that you receive the highest level of protection available.
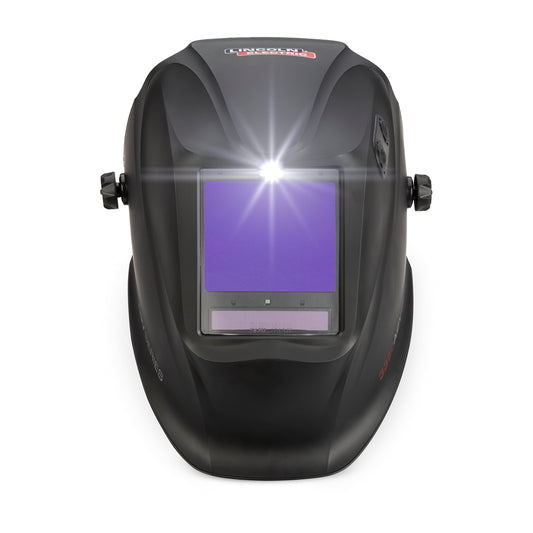
The first thing you should do is set the helmet on a clean, clear surface. Lift the front of the welding helmet up, swinging it over the headband and make sure that your battery is properly in place. The next thing that you should do is adjust the shield delay time. This refers to the amount of time that the shield takes to change from a darkened state to a lighter state. On many of the most popular auto-darkening welding helmets the delay can be adjusted by moving a switch located on the inside of the shield. Depending on the type of helmet that you have, delay times can be adjusted from .25 to .35 second on a fast setting, and .6 to .8 on a slower setting. The delay used is more of a personal preference, you should adjust the amount of delay that you feel comfortable with.
You can adjust the shade setting by using the adjustment knob. On many auto-darkening helmets this knob can be located on the left side of the welding helmet. It allows the welder to adjust the intensity of darkness depending on the type of welding they are performing. Welders should always use the darkest shade recommended for the particular type of welding being done. Once you feel that you have adjusted the welding helmet to your liking, you should put the helmet on and adjust the headband to ensure that the welding helmet still fits properly. You should also lower the helmet and adjust the angle until you can see through the shield without any obstructions. Before starting to weld you should test the helmet’s auto-darkening shield to ensure that it is properly set. If your welding helmet has been properly set the lens will darken even though your head is not facing the arc. If for any reason your lens doesn’t completely darken you should not use that welding helmet.
Learn more about our top welding helmets in our review video:
2 comments
Hi,
Thanks for this helpful review. I am looking for a helmet that do only help to weld accurately and also protect my eyes.
But I am confused which one I should buy as the marketplace is full with a lot of options.
I have found your review that helps me to choose the best one.
best welding helmet for sensitive eyes
Informative and useful for every welder, i’m very happy to share about the best miller welding helmet reviews here.