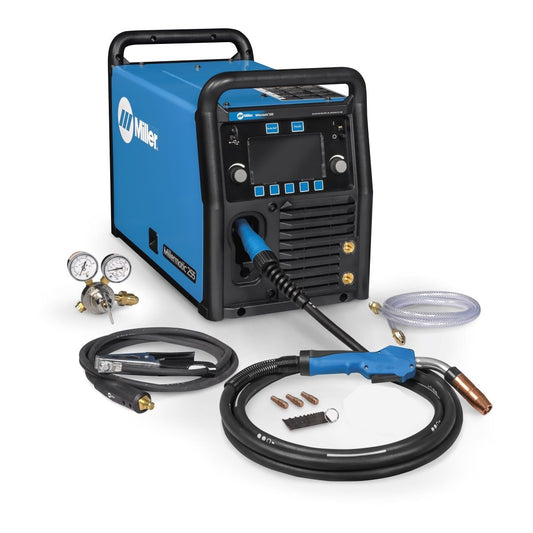
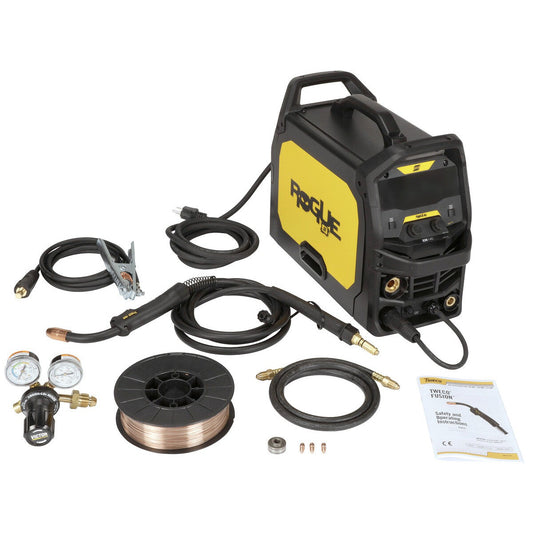
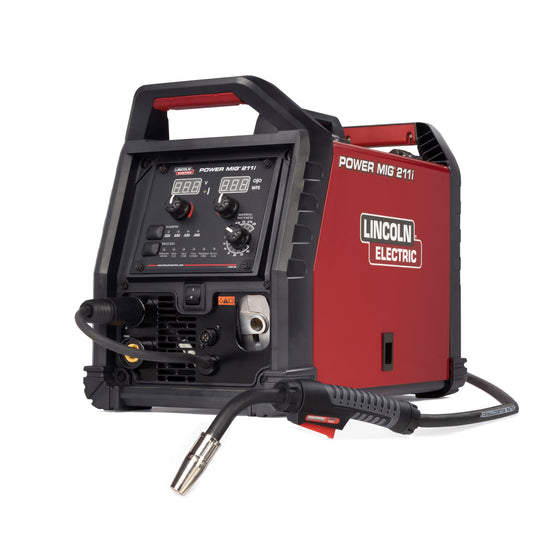
MIG welding, or Metal Inert Gas welding, is one of the most accessible and widely used welding processes for both beginners and professionals. Its ease of use, clean welds, and versatility make it ideal for a variety of applications, from automotive repair to home DIY projects and industrial fabrication. If you're new to MIG welding, this guide will walk you through the basics--from setting up your equipment to laying down your first weld.

Step 1: Gather Your Equipment
Before you begin welding, make sure you have the proper equipment:
- MIG Welder -- Choose a welder that matches the material thickness and power requirements for your project.
- Shielding Gas -- Typically, a 75% Argon / 25% CO2 mix is used for clean welds with minimal spatter.
- Welding Wire -- Select the right wire type and thickness for your metal (ER70S-6 is a common choice for mild steel).
- Ground Clamp -- Ensures a stable arc by providing an electrical connection to your workpiece.
- Personal Protective Equipment (PPE) -- Includes a welding helmet with auto-darkening lenses, welding gloves, and a flame-resistant welding jacket.
Step 2: Set Up Your MIG Welder
Install the Wire Spool
Open the welder's compartment and load the spool of wire. Thread the wire through the drive rollers and into the liner, ensuring proper tension so it feeds smoothly.
Connect Your Gas Cylinder
Attach the gas regulator to the cylinder and connect the hose to your welder. Open the valve slowly and set the flow rate (typically around 20-25 CFH).
Select the Right Wire Speed and Voltage
Check the settings chart on your welder for recommendations based on the metal thickness. Adjust the voltage and wire feed speed accordingly.
Attach the Ground Clamp
Secure the clamp to a clean, unpainted part of the workpiece for a strong electrical connection.
Step 3: Lay Down Your First Weld
Prepare the Metal
Clean the surface with a wire brush or grinder to remove rust, paint, and contaminants. This ensures better weld penetration and quality.
Position the Torch
Hold the MIG gun at a 10-15 degree angle, pointing the wire slightly in the direction of travel. This allows for smoother movement and better weld control.
Strike the Arc and Move Steadily
Squeeze the trigger to start the arc and begin moving along the joint at a steady pace. Keep the electrode about 3/8 inch from the surface and maintain a consistent speed to avoid excessive buildup or burn-through.
Watch the Weld Pool
Monitor the molten metal pool as you weld, ensuring even distribution and penetration. If the weld appears too high, lower the wire speed or increase the voltage. If it's too flat or wide, reduce the voltage.
Finish and Inspect
Once finished, let the weld cool, then inspect for any gaps, cracks, or porosity. A solid weld should have a smooth, even bead with good penetration. If necessary, go over any weak spots with another pass.
MIG welding is an excellent skill to learn, whether you're working on home projects or professional fabrication. By following these steps and practicing proper techniques, you'll be well on your way to mastering the process.
If you're looking for the best MIG welders, welding wire, safety gear, or expert advice, Baker's Gas and Welding has you covered! Call us at 877-930-5690 or email support@bakersgas.com for all your welding needs!


