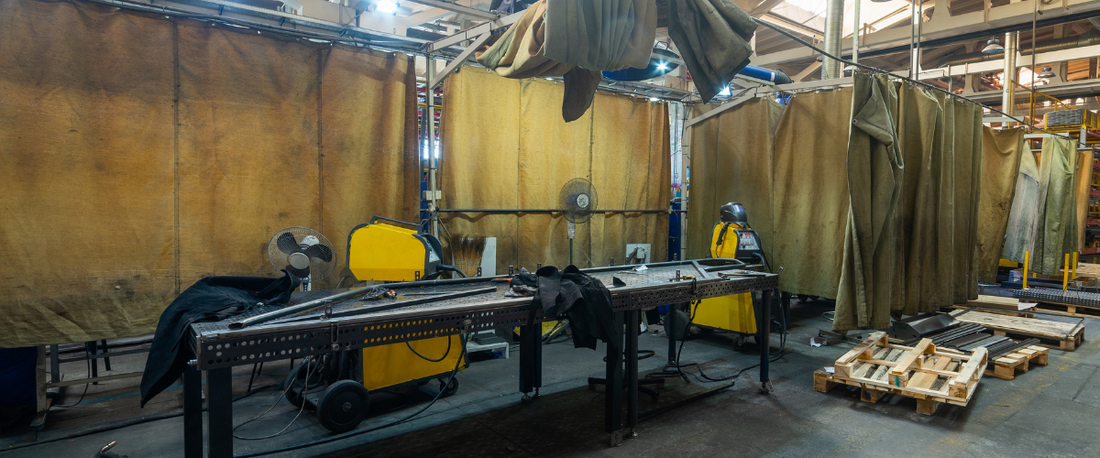
If you’re looking for an easy welding project, you may want to consider building your own welding table. A welding table must be able to absorb heat and not catch fire or warp while you are working. Welding tables should be constructed of steel and built to remain stable even while holding a heavy load. Designing and building your own welding table will allow you to design a piece that will fit your work area perfectly and is less expensive than purchasing a pre-built model.

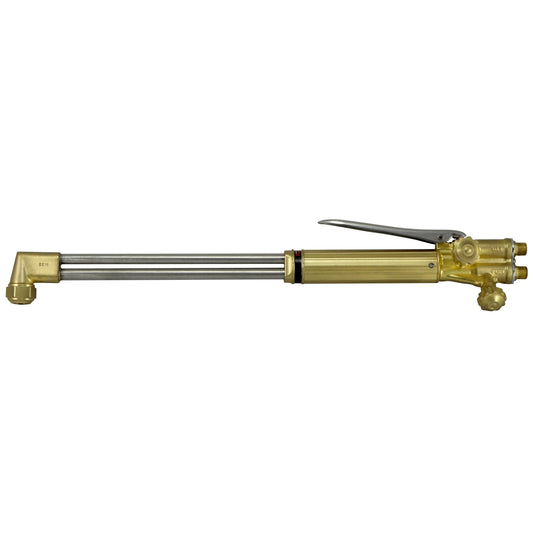
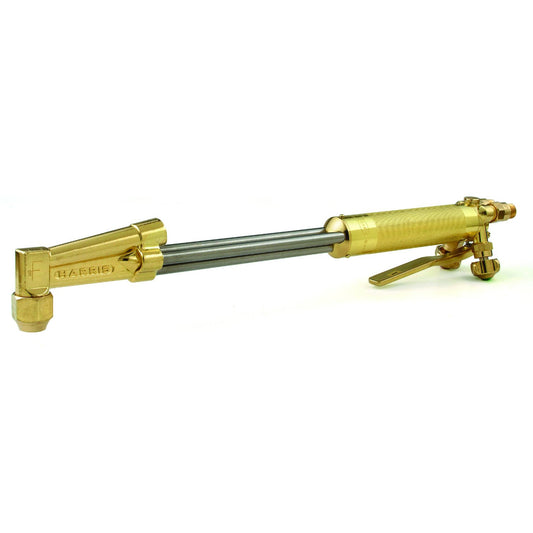
The basic tools required to build a welding table aren’t anything special and you probably have most of the tools lying around your shop already. You will need to have the pieces of metal that you are going to use for the top cut or you can cut it yourself using either an oxyacetylene torch or a plasma cutter. Once you have the dimensions of your welding table worked out you are going to also need a band saw, grinder, clamp, hammer, square, level and of course your welding machine. Consider picking up a few magnets or clamps for this project and we find them helpful for almost every project!
Before you cut or weld any of your metal pieces, you will first need to determine the size of the welding table you will be building. How much space you need to work around the welding table, and the type of welding work that you will be using it for; figuring all of this out before you begin will make the entire building process much easier. Your welding table should consist of a top that is at least 3/8 inches thick and made of carbon steel, with your legs being made from angle iron, u-channel, square tubing, or pipe. The important thing to remember when building a welding table is that all of the metal being used is of the same type to ensure that the welding table is strong and uniform.
After you have determined the size of your welding table, your next step will be to cut the top. You should lay out the cuts on the metal plate and allow 1/8 inch on the length and width cuts to allow for finish grinding. Before you make any cuts you should remove any and all flammable materials from the work area. Elevate the piece of metal you are cutting for the top and cut using either an oxy-acetylene torch or plasma cutter. After the cuts have been made, you will need to remove any slag using a hammer. To do this you can hit the cut ends of the table top using the hammer and any slag present will easily break off. Once all of the slag has been removed you will need to grind the edges to smooth any rough areas on the cut edges.
The next step is to determine how many support legs your welding table will need. This can be determined by the thickness of the table top and the overall size of the table. If you used a 3/8-inch table top, the distance between the support legs should not be greater than six feet. During this step you will also need to determine a comfortable working height of the welding table. Remember that the cut length of the legs will be the finished height minus the thickness of the table top. Now, you will need to cut the appropriate number of legs needed and make sure that both ends of the legs are square. Lay out the location of the legs on the table top, and after you have placed all of the legs in their proper locations, you can now begin to weld them onto the table top.
You may find that you need some support pieces that connect the legs at some point below the table and which will act as braces to keep the legs square. These pieces of metal can be welded to each of the table legs for added strength and support. You could add a shelf under the table, which then acts as the bracing for the table legs and shelving all in one. A shelf welded under the table can provide you with much needed storage space to keep your welding tools and equipment close while you are working.
There is no limit to the amount of accessories you can add to your welding table. Some of these accessory items you may want to consider adding to your welding table are pieces of metal that can be used to ground your welding machine to the table. Placing multiple pieces of metal along your worktable will also allow you to move your welding machine around your work table and still be able to properly ground it. There may be some hazards with using your welding table as the ground while welding your work pieces on top of the table. This website article is full of useful information if you choose to go that route.
Image Source: “Welding Table” from the TractorByNet.com Welding Forum
Other Resources:
- How to Build a Metal Welding Table (linclonelectric.com)
- Welding Table – Ideas for Welding Tables – Building or Buying (weldingtipsandtricks.com)
If you are more a visual learner or just don't like reading here is a youtube video detailing the process. There are many tutorials and types of tables posted on YouTube so take a look for yourself.
Be sure to check back for more project ideas. Also leave a comment and let us know how your table project turns out!


