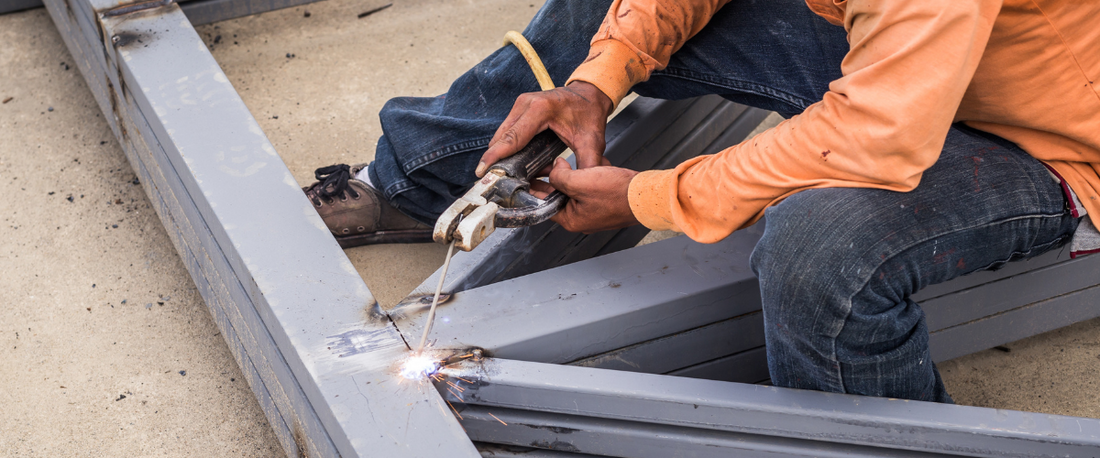
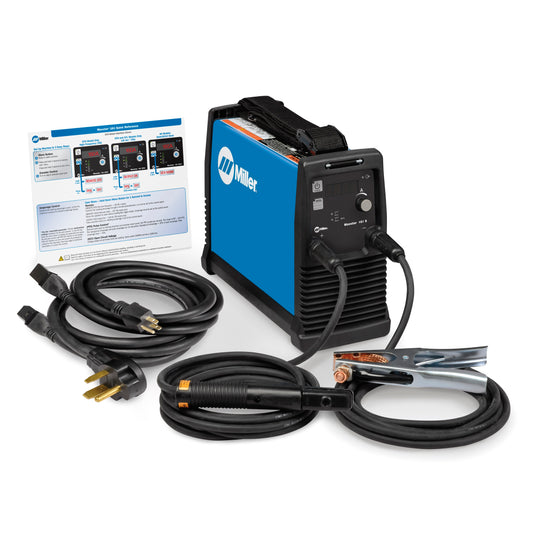
Stick welding is the most forgiving welding process compared with MIG and TIG applications. Best yet, it can be used for a variety of materials in various positions. Stick welders come in a variety of sizes with all kinds of options. Some are a simple AC stick welder, while others offer the option to switch between AC and DC settings.

Whether you’re welding a pipeline on your hands and knees for a new welding job, standing all day to weld large structures, or doing a little of everything in a welding shop, here are some stick welding tips to help you get the most out of your stick welder.
What Kind of Rod Are You Using?
It’s not enough to know which number rod (electrode) you’re using. While the thickness of a 6010 or 7018 will naturally make a huge difference in your settings, positions, and technique, the brand name of your rod could make a difference depending on which machine you’re using.
For instance, running a 7018 rod typically requires a DC setting, but if you only have an AC buzz box, ask around for brands that may run smoother with your machine. It may help to start with the rods made by the manufacturer of the machine you’re using.
In addition, the smaller your electrode, say 6010, the more control you’ll have over the weld, as you can move slower, and get a smoother weld. However, the 7018 will work better for larger joints and will require fewer tie-ins, giving you a smoother, cleaner weld. Welding with a 7018 will often call for less movement, moving your rod far less than a 6010, which may need to trace the edge of the puddle as you weave your weld. With the 7018 you may only need a steady hand so that the rod is pointed straight into the weld joint.
Dealing with Stick Welding Slag
It’s true that stick welding makes it significantly easier to burn through impurities, rust, and porosity. You can really cut down on your prep work with a stick welder. However, you’ll still have to deal with a layer of slag once you’re done welding.
The good news is that you can get better at your settings and technique to the point that may be able to simply chip the slag off using a chipping hammer or sand paper.
Tacking a Stick Welding Project
A tack requires a sudden blast of power to a weld joint in order to hold pieces of metal together. You can really wreck a weld if you don’t get the tacks strong enough so that they hold together while welding, so take the time to make sure you’ve got enough power.
Stick Welding Pipes
Stick welding on a pipe is a whole other matter from uphill or horizontal welding projects. The greatest challenge will be keeping your rod at close to a 5-degree angle as you complete your pass. You may need to bend and shift your wrist or entire body depending on the position of the pipe.
Keep the settings on your welder good and hot and maintain a tight arc so that the arc force keeps the weld puddle moving into the pipe. You want the weld to flatten out rather than forming big drops along the pipe. A higher dig setting will help you do that, but then you’ll have to keep a close eye on your technique as you weld.
Depending on the angle and the weld joint’s size, there may be some occasions to keep the electrode pointed straight into the joint with no angle.
How to Tie in a Stick Weld
As you weld, you’ll often run out of rod, and so you’ll need to make sure you tie in a new electrode. One way to do this is to ‘tail-out’ your current rod up the center.
Begin your next rod in the center over where you just pulled out your first rod, about a half-inch or so over where you stopped. Once you’ve heated things up a bit, work on moving down and then over to the side. You’ll basically trace the edge of your previous weld as you move down, over, and then back across to begin your new bead.
If you need any welding supplies or accessories be sure to check out what we have to offer here.

