Removing a rusty panel on your car can be quite expensive, unless you have the proper welding skills. If you are an experienced welder, removing and replacing rusty panels from your car is something that you can accomplish with the proper tips.
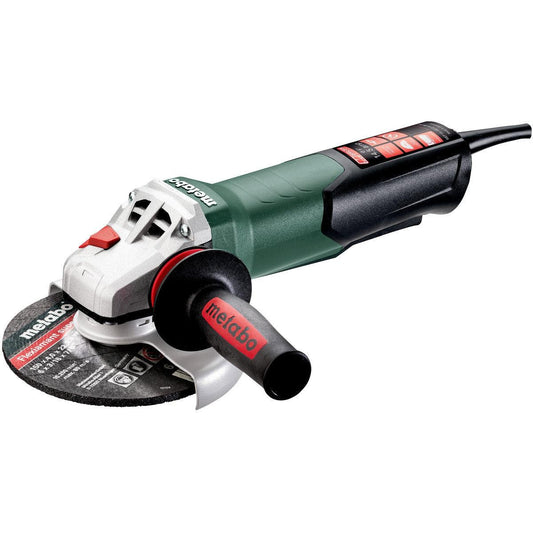
- First you will want to gather all of your MIG welding equipment. A MIG welder provides the necessary amount of power for welding through the heavy steel that many cars are made of. Before starting work, always make sure that you have plenty of welding wire as well as gas. Running out of either material while you are working will force you to stop in the middle of your work and run to the nearest welding supply store. Save yourself some time and make sure that you have enough of everything before you start. You should also make sure that you have clamps and a hand grinder within reach. You will need both of these items as the job progresses.
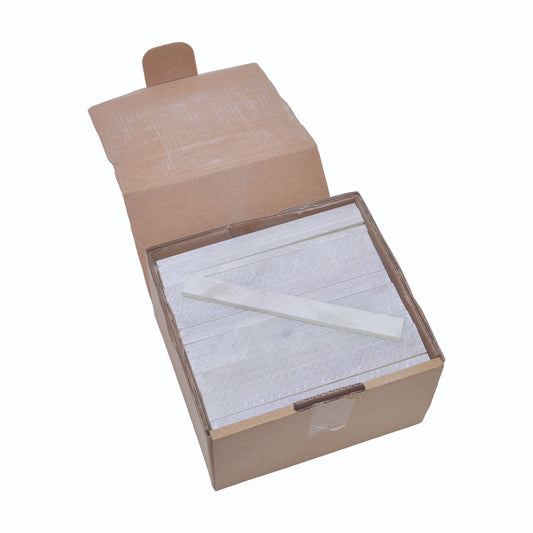
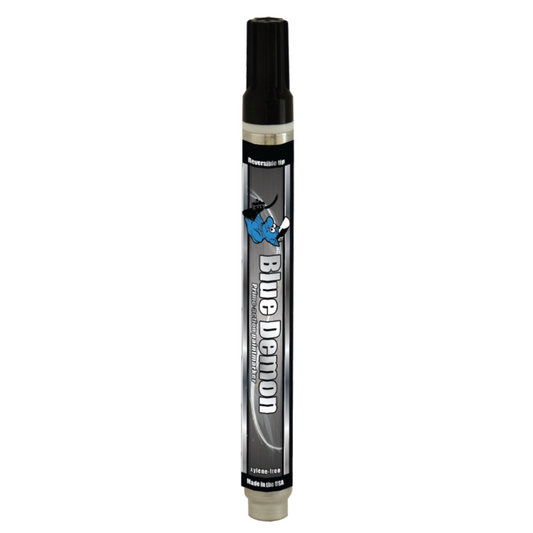
- The next step will be sizing the replacement panel. You will want to fit the new panel to the existing frame to ensure that it is the correct size and that there will be no overlapping. If your new panel is too large, you will need to cut the excess using the hand grinder. You will also need to use the clamps to hold the new panel in place so that you can mark the area that needs to be removed. You will need to draw a line (with a welding marker or welding soapstone) on the new panel to show where you will need to make the cut. Once you have trimmed the new panel to the correct size you are ready to begin welding.
- At this point you will want to remove the old panel from the car. It is important that you take the time to properly remove the rusted area from the car and not try to weld the new panel directly onto the rusted area. If you weld the new panel onto the rusted area, over time the rust will just spread to the new panel and you will have to do the process again. To remove the old panel you will need to draw a line approximately 1/2 inch below the line you drew earlier. This will allow you to have some metal to weld the new panel to. Using your hand grinder you will cut along the new line until the panel is free.
- Now, you are going to want to check your welding current. The recommended current for this type of body work is between 40 and 60 amps. If your welding current is set at too high a speed, the chance of creating holes in the panel increases. An inappropriately set welding current will also decrease the depth of the weld you are creating. To avoid any of these from occurring, you should always check the level of your welding current.
- Once you have removed the rusted panel and have double checked your welding current, you are ready to attach the replacement panel. Using clamps to hold the new panel in place you are ready to start attaching it to the remaining panel. If you do not have any clamps available, you can hold the replacement panel in place by using tack welds. This process will create small welds that will hold the new panel in place.
- Once the new panel is clamped onto the car you’re ready to start welding it in place. The recommended welding technique when working with body panels is the stitch welding method. This is a series of welds that create a continuous line of weld to attach the panel. When you’ve finished welding the replacement panel onto the vehicle, check it for any gaps and fill them by plug welding.
- After you have attached the new panel to the vehicle you can now grind it down so that it is flush with the rest of the area. Once that step has been completed, you can now apply primer and paint. The end result should be a panel that is well attached and flows evenly with the existing panels.
Reference: http://www.ehow.com/how_4601960_weld-auto-body-panels.html


