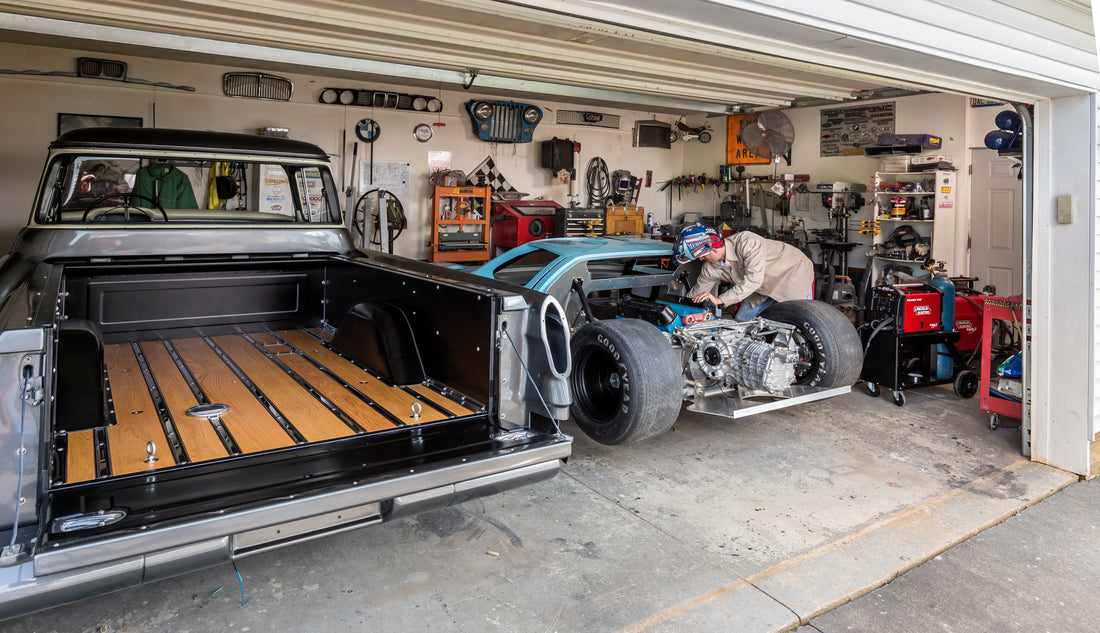
Your garage used to be a refuge where you could work on projects, but over time you got too much of a good thing—more tools.
Who can resist a clearance sale? Whether or not you have room for that new saw, welder, or work table, there’s no sense in wasting a good deal. However, now that you’ve filled your garage with tools, their accessories, and maybe even that new riding mower that you hope will cut your lawn cutting time in half, you don’t have enough room to work.
Why Weld Your Own Shelves
When it comes to welding, you really need a safe, clean work area. It just won't work to have flammable liquids around when the sparks start to fly.
Thankfully, even a welder new to the trade can manage enough tacks and joints to create strong, functional metal shelves that are suitable for storing anything you may have in your garage. If you need storage for welding machines, parts, or consumables you probably have scrap metal laying around that you can simply repurpose into suitable shelving.
While purchasing all of the materials new may be a little costly, you can’t place a cash value on being able to custom design shelves that meet your specific needs and space constraints. In addition, you’ll feel better about having designed and built the shelves in your own work area when you enter your garage or work shop ready to get down to business.
Materials for Welding Shelves
It can be overwhelming to plan your own shelves. The plans and materials you use depend on where you hope to use your shelves. Some welders build very simple and functional shelves for their garages, while others construct elaborate home storage shelves. ZH Fabrications made an excellent DIY shelving video on YouTube that we recommend checking out. They really show what is possible with a good plan and a bit of effort.
Most shelving units are designed to either stand alone or to be attached to a supporting wall. The shelves in this post will not include shelves attached via a simple wall bracket. If you’re creating freestanding shelves that are not braced to a wall, include a diagonal cross bracing for maximum stability. A cross brace is very common in metal shelf design.
Though it’s common knowledge that square metal tubing will provide stronger leg support for your shelves, many shelving plans use angle iron because it’s affordable, makes it easy to fit shelves into place, and allows you to fit more onto the shelves. For most purposes, angle iron gets the job done, though square tubing works perfectly for the shelf fixture frame that each shelf rests on.
The shelves can be made from plywood or pieces of sheet steel or expanded metal. In making these plans, you’ll need to decide what factors matter the most in order to select the materials you use: design, cost, or function.
You’ll need plenty of clamps to hold the joints together while working on them.
Before starting to weld, Baker’s has a wide variety of welding tools, welders, and practical safety gear.
Steps for Welding Shelves
You can begin by first sketching a diagram with measurements for your shelves and looking up the plans of other welders. Keep in mind that any shelves taller than three feet should have extra bracing or, ideally, be attached to a wall. In addition, DIY experts recommend leaving more room on the bottom shelves for larger objects, and spacing the top shelves closer together in order to minimize the weight they carry.
Every shelving system has three basic parts: horizontal shelf trays, vertical legs, and the shelves. You can build shelves in a variety of ways.
Using square metal tubing, you can create a base by overlapping the short sides on top of the long sides and welding them together. Form a shelf tray for the section of shelving that you plan to include.
Using clamps to hold each joint together, weld the vertical legs, made of angle iron, to the shelf trays. You’ll want to lay your shelving unit on its side for this part of the process. When you cut your shelves, whether wood or metal, they should rest on the shelf tray and stay in place because of the angle iron for each leg, creating a neat look. You can either fasten or weld your shelves into place if desired.
For greater stability, you can weld adjustable legs or a nut and bolt combination to the base of the shelves in addition to anchoring the shelves to the wall. A bit of paint will add a finished look to the final product, but then again, building shelves may be quite enough work for one day.
And besides, if you’re just going to fill them up with your tools, it may be wiser to save the money you could spend on paint for today’s big sale at Baker’s Gas and Welding.


