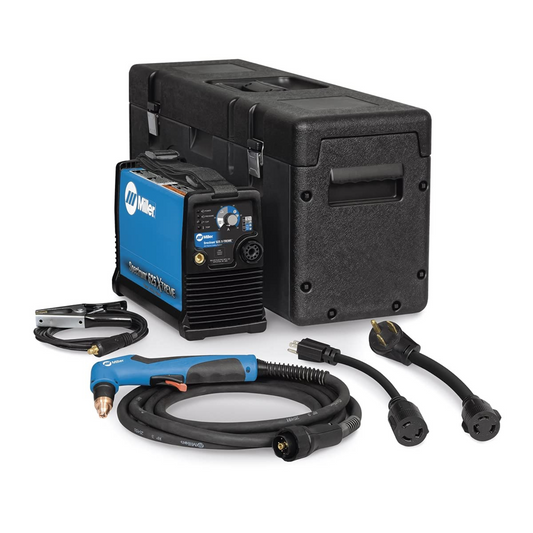
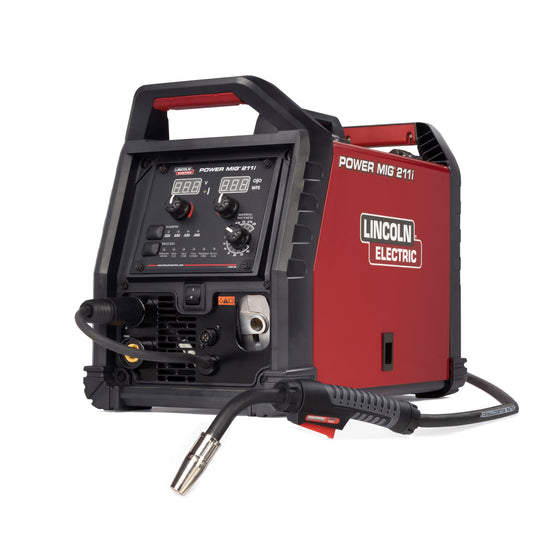
No matter how tough you are, eventually you need to sit down. A welding stool can give you the perfect spot to sit and is a great addition to any welder’s work area or garage. This particular project takes around two hours and is rated a beginner project. The stool you make has a comfortable seat that is 13 x 13 inches and a height of around 23 inches. It has steel legs and a footrest bar. The suggested processes are MIG and plasma.

The materials you need are a frame, paint, seat, bolts, and matching nuts. The frame needs to be around 16 total feet of one inch angle iron that has been cut into (4) 22-inch pieces and (8) 12.5-inch pieces. The seat needs to be a 1/2 inch of plywood that is 13 x 13 inches. The four bolts need to be 1 inch and have matching nuts. Of course, you can choose any paint you want. Keep in mind that you can tailor the dimensions to suit you and can substitute anything you want or change the thickness. This is just a suggestion.
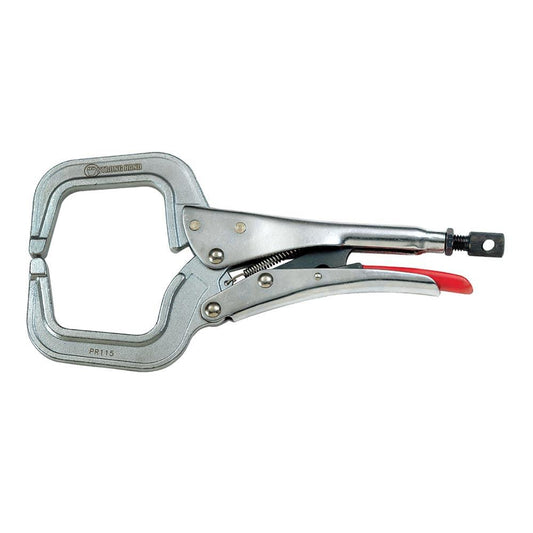
The tools that you need are things you probably already have or can at least obtain easily. You need a drill and drill bits, welding clamps, square, grinder, chop saw or plasma cutter, MIG welder, and of course, your safety apparel. Don’t forget about safety just because you’re doing something fun and easy!
The first thing you should do is cut the angle iron to the desired sizes. You need (4) legs that are 22-inches long. You need (4) top frame pieces that are 12.5-inches and (4) bottom frame pieces that are 12.5-inches. Use your grinder to get rid of sharp edges and burrs from the pieces so that you don’t end up cutting yourself.
Your second step is to cut a 1-inch notch in the ends of two top frame and two bottom frame pieces. Cut the notch at both ends. This ensures a flush top surface and will let the frame fit together well.
Next, weld the top frame pieces together, making a square. Make the frame as square as you possibly can. To make sure the top surface is level, weld on the bottom side of the frame.
Now weld the bottom frame pieces into a square. Again, make it as square as you can and weld on the bottom. This will hide the welds and make your stool look much better.
Now you want to weld the four legs to the outside of the top and bottom frames. Make sure that you position the legs where you will get maximum stability. Once you’ve welded the legs to the frames, mark and then drill a hole through the center of each top frame piece.
Your next step is to then drill four holes in the seat that match the holes you drilled in the top frame. Attach the seat with the nuts and bolts to the top frame. If you want, you can brush exposed welds smooth and then paint them.
And now you have a comfortable stool for when you weld! Better yet, you made it yourself. If you prefer the look of it without paint, then that is just fine. No one says you have to paint a welding project. You can make several of these so that you have plenty of places to sit and places for friends or family to sit while they work with you or just admire your latest projects.
Some people actually sell little projects like this. Not a bad idea – you get to make extra money and you get your name out there as a welder. You never know when someone might ask you to make more for them or when you might be offered some sort of job just because you gave someone a stool!
For more in-depth information on this project check out the Miller project page here. If you need any welding supplies be sure to see what Bakers has to offer here.


