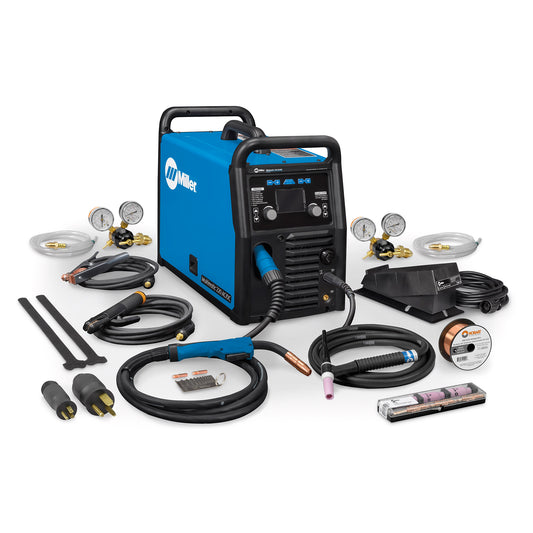
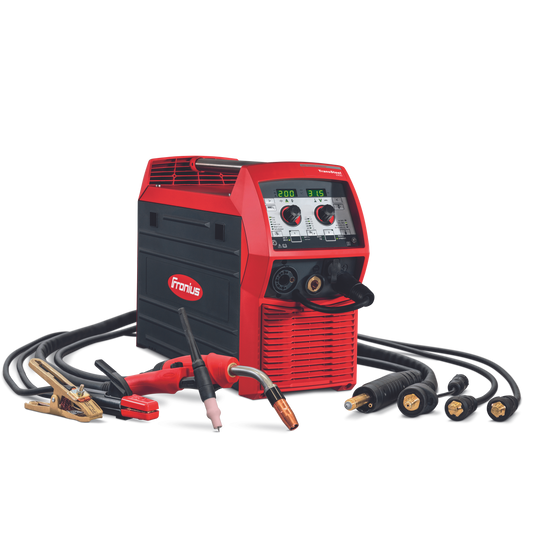
Whether you’re done with work and you want to relax with some friends at home or to put together a memorable party on the weekend, you don’t need a ton of money to buy a huge, fancy bar for your drinks. You just need a welder, some 1 x 1 inch square steel tubing, and whatever you want to use for your counter top and front facing of the bar.

One welder put together an impressive bar that he built using a MIG welder. You could use a bar like this in your basement when you entertain or in your kitchen as an island with plenty of storage. Here are some steps for building your own bar.
Welding a Frame for Your Bar Welding Project
The frame for this bar is 1 x 1 inch steel tube that has been welded into two simple rectangular frames which were then welded together. There’s not too much to say other than you’ll need to clean your metal before welding, measure your sides, and then tack weld each piece together using clamps to ensure that all of your sides are flush.
Once you’re tacked together, finish your welds, grind them so that they’re smooth and flush, and then decide whether you want to put any paint on the metal. Chances are you’ll be putting some kind of facing on the bar and you won’t need to worry about the metal being presentable.
Finishing Your Bar Welding Project
After the frame was welded together on the example above, it was wrapped on three sides with corrugated metal and then finished along the bottom with wood trim. You could just as well use paneling or another kind of metal, just keep in mind that corrugated metal tends to be relatively light compared to some of the other materials you could use.
One of the advantages of putting some kind of material around three sides of the bar is that you can then add shelves below the counter top for storage. Whether you put the bar in your kitchen or in another room of your home, a little extra storage can be a great use of space and can even accommodate a mini fridge if you build up enough support for it.
This project in particular has a 30 x 72 inch stainless steel top with a 1 inch rolled edge that serves as the counter, but you could just as well use hard wood or any other durable material.


