It is easy to overlook the seemingly easy-to-use plasma cutter. Before you take your new plasma cutter out of the box and go to work, read these quick tips to improve the quality of your plasma cutting, increase your efficiency, and prolong the life of your equipment.
Please, don’t groan when I say this, “Read the manual!” It really is essential to familiarize yourself with the particulars of your plasma cutter. Carefully read the safety information. Be aware of how to correctly operate your equipment. Take the time to read before you begin, this will save you time and the hassle of reconciling your incorrect assumptions, and optimize your plasma cutter’s capabilities.
Make a sample cut. Use the same type of material that you will be working with to ensure you have the right settings and travel speed. Practice your movements before pulling the trigger. Remember it is difficult to stop cleanly, and continue. Make sure you have adequate freedom of movement to make one continuous cut.
If your plasma cutter is equipped with a drag shield, use it! This will allow you to rest the torch on the work piece while maintaining optimum standoff. You should have the standard 1/16th to 1/8th of an inch standoff without touching the tip to the metal. Touching the work surface will decrease your cut quality and adversely affect your consumable life.
To maintain the distance between tip and work piece without a drag shield, use your non-cutting hand to support the cutting hand. This will allow freedom of movement while maintain constant standoff (and steady the cutting hand).
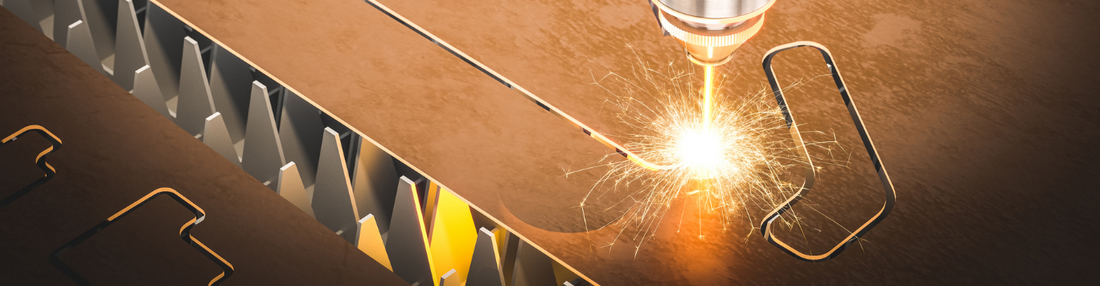
Consider your amp setting. A lower-amperage tip has a smaller orifice. This maintains a narrower plasma stream for low settings. Use the right tip for the right setting. If you were to use a 40-amp tip and an 80-amp setting you will distort the tip orifice, significantly reducing consumable life. An 80-amp tip on a lower setting will not allow a focused plasma stream. This will also result in a wider kerf. An extended tip is a wise choice if you need to reach out further when cutting corners, using patterns, or in tight areas.
Consider differences in piercing thick and thin material. To start a cut on thin material the arc may punch through with little or no backsplash. With thicker material you will do well to start with the torch at a 45 degree angle. The first blast of metal will then have somewhere to go. If you don’t, the splash back will increase wear on your consumables.
Remember, the faster your travel speed, the cleaner your cut will be. With thick material, set the machine to full output; vary your travel speed. For thin material, turn down the amperage, change to a low-amp tip, and you’ll maintain a clean, narrow kerf.
The arc should exit the material at 15 or 20 degrees in relation to the reverse of the travel angle. If you’ve got a 90 degree straight down, you’re going too slow. If it sprays back, go more slowly.
Use a straight edge clamped to the work piece to guide the torch on precise cuts. If you’ll be repeating the shape or making multiples of the same cut, create a template. Straight and circle guides are available. Increasing your efficiency and decreasing your waste will lead to lower operating costs. Work smarter, not harder and you’ll enjoy your job even more.