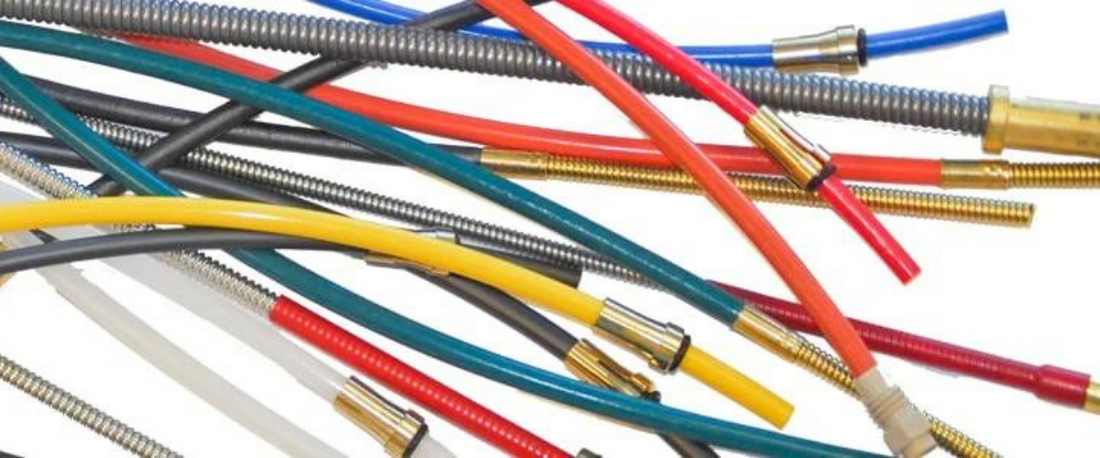
MIG welding is one of the most efficient and popular methods of welding used today. Because the welding wire is fed through the electrode this allows welders to work longer and have a higher level of productivity than welders using a different welding method. A MIG welding gun feeds wire into the weld puddle to create a strong and solid joint. MIG guns have a liner that is used to guide the wire through the lead and out of the nozzle of the MIG gun. Your liner will become worn from long-term use or it may become damaged, we are going to walk you through the steps necessary to replace the liner.
The first thing you need to do is to make sure that the power switch on the welding machine is in the off position. Once that is done you should also disconnect the power supply and turn off the gas. It is for your safety that you make sure there is no source of power going to the welding machine; this will prevent you from accidentally getting shocked while you are working on the liner. The next thing you need to do is to back roll the welding wire inside the MIG lead and thread the wire through the holes on the spool to keep it from becoming loose.
Next, you will need to locate the nut that holds the MIG casing in place. Most internal spooled MIG machines have a door that will open and allow you to access the wire spool and MIG lead. If your welding machine is spooled externally you will need to lower the spool arm in order to release the tension on the nut. Once you have done that you can disconnect the trigger control from the MIG welding machine. The next thing you will have to do after locating and removing the nut is to pull the cup off of the MIG gun and set it somewhere safe. Now loosen the copper tip using needle nose pliers and put aside with the MIG cup. At this point you will need to remove the liner holder using an adjustable wrench. Now you can remove the worn liner using the pliers; pulling gently, the liner should slide out without a lot of pressure.
Now that the liner is out of the casing you should blow out the inside to remove any debris that may have become lodged inside the gun. If you do not properly remove any debris from the MIG gun your new liner will not allow the wire to feed properly. Now you can insert the new liner and slowly work it into place. If the liner should bind up in the MIG gun you should gently twist the liner while applying pressure forward to help release the bind. You should push the liner until it is about 3/4 inch over the MIG tube and cut off any excess liner using wire cutters.
Once you have properly inserted the new liner into your MIG gun you are now ready to reassemble the welding gun. Attach the MIG lead to the welding machine and reconnect the trigger control. Now thread the MIG wire through the drive rolls and into the end of the liner. At this point you are now ready to reconnect the power supply to the welding machine and turn it back on. Once your welding machine is powered up turn the wire speed on the MIG gun up and press the trigger until the wire exits the copper tip of the welding gun. Trim off any excess wire using the wire cutters and reset your welding machine to start welding again.