When you’re out in the field (which could be anytime in your life when you’re not working in the shop, whether you’re on or off the job), you never know when and where you might need to do some emergency welding. Let’s say you’re into 4-wheeling on off-road trails and you break an axel or some other element vital to your vehicles operation. With a few key items, you can rig a make-shift welding set-up that can handle many basic welding repairs and help you avoid becoming stranded in the wilderness.
Basic Tool Kit
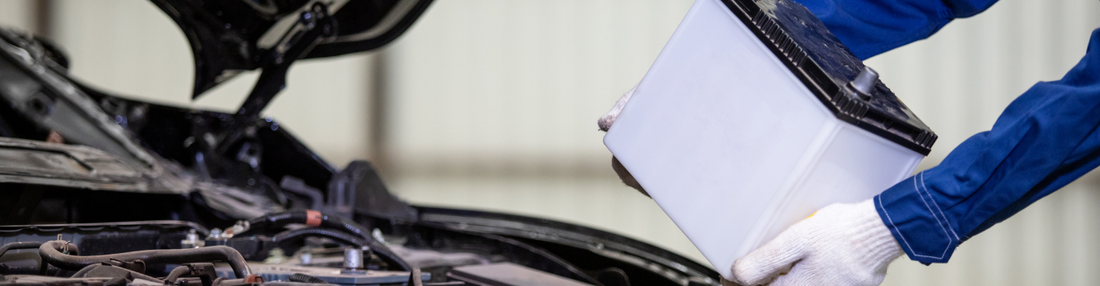
- Three batteries (carrying a back-up battery and traveling with friends driving their own vehicle are both good ideas when you’re running off-road)
- Basic welding schematic
- A pair of welding goggles
- At least two battery clamps
- 2 – 4 cables
- Electrode holder (on a long lead)
- Ground clamp on a long lead
- Welding gloves
- File
- Extra pieces of steel (in case you need to join additional metal to whatever you’re repairing)
- Vise grips
- Slag hammer
- Wire brush
- Stinger line
- At least two packages of electrodes
Six Step Emergency Field Welding Process
Step One
Wire the three batteries in series, positive to negative, with ground clamp attached to the positive line. DC negative welding allows the energy to travel from the material to the welding rod, producing a gentler, more controlled arc. When the current flows from the rod into material, it tends to blow a hole in the material.
The batteries need to be wired in series, in order to take advantage of the triple power boost. Batteries wired in parallel only produce 12 volts, and not enough power to melt a 1/8” electrode.
Step Two
Clap the ground to the material
Step Three
Connect the stinger line to the negative pole on the battery, connect the electrode holder to the cable and insert the electrode into the holder.
Step Four
Cover the batteries with a blanket to make sure no sparks land on the batteries, which could possibly cause the hydrogen cells to explode.
Step Five
Make your initial pass, clean up the weld and make secondary pass, cleaning each weld and repeating as necessary until the weld is complete.
Step Six
Use something to brace the material you’re welding (if it’s not already attached to something) and give it several good, solid whacks with the hammer. If it holds, then it’s good enough for a field repair, and you should be cool to make it home!