Tack welds can save you a lot of time and will help you make stronger,
cleaner, straighter welds. However, if you get the tack welds wrong, the rest of
your welding project will only get worse, wasting both project time and welding supplies. You need your tacks to be solid and even, and here are some tack welding tips on how to get it done right the first time:

Tack Weld on a Flat Surface
Let’s say you’re fabricating a 90 degree angle with your welder, and you need
to setup the metal with a perfectly flush angle before you clamp it together.
That is going to be a tough task right from the start if your table is uneven or
has sloped edges.
Before you even start welding, make sure you either weld your own table or buy a welding table. Either way, get a work surface that is flat and flush. In addition, if you’re working in a garage on a hobby welding project, make sure the floor is flat and stable so that your table is secure and even.
Tack Weld with Clamps
Clamps are small welding tools that can make a huge difference for a welding
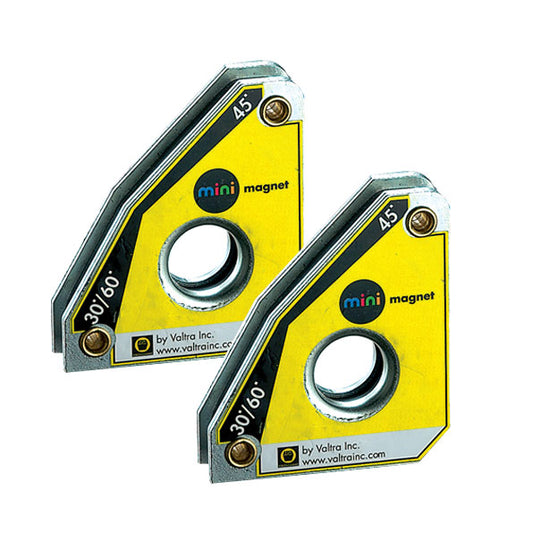
project. When you’re buying clamps, don’t go cheap. Buy a variety of sizes or at least pick up an adjustable magnetic clamp that is strong enough to hold your work piece together.
When you’re setting up a tack weld, use multiple clamps to hold your work
piece together, ensuring that there is little to no gap in between the work
pieces. The less you have to fill in the weld joint, the better!
Tack Weld with a Lot of Power
The goal is to fuse the metal together with a tack weld before it even has a
chance to distort while creating a sturdy tack weld for the metal. Tack welding
tends to take a lot more power than the typical welder settings you would use.
Jody at Welding Tips and Tricks has a great welding tip for making better tack welds when you’re fabricating sheet metal with a TIG welder. I’ll summarize some of his post below so you can give his tips a shot in your own welding shop. Some of the tips below could also work for other welding processes.
For starters, Jody suggests working with a #4 TIG cup. A small cup makes it
easy to center the electrode right on the middle of the weld joint. Too large a
cup, and it may not fit well into the joint, especially if you’re tack welding
thin sheet metal with a TIG welder.
The electrode should just barely stick out of the cup into the weld joint.
Too much stick out will inject too much heat into the weld joint, leading to
potential burn through and damage to the metal you’re working on. Did I mention
that you should test this on scrap metal first?
Set the TIG Welding machine to a higher amperage.
Tack welding is all about using more power, but in the case of using a TIG
welder to tack sheet metal, the power setting could be more than double what you would normally use to weld.
For example, on a corner that calls for 65 amps, Jody used 165 amps to tack
weld. For the Synchrowave mentioned in his post, he selected “Panel” instead of
remote for the amperage setting. The frequency should be set on “Start.” Set the
AC setting to balanced. Crater fill was off and it was set to DC electrode
negative. For the output, he selected remote for use with a foot pedal.
As a side note, a foot pedal will make tack welding much easier to do. It
just takes a slight tap on the pedal so that you get a split second burst of
power into the weld joint you’re tack welding. Just tap the foot pedal and then
move the torch off the metal, or you’ll end up melting the corners without
making a weld. If the electrode is out too far, if the gap you’re welding is too
wide, or if you stick around too long with the electrode, you’ll just mess up
the corner.
You can also set up TIG welders with a finger control switch to do this. This
isn’t just limited to welders with foot pedals. Some welders even come with a
“Microtack” feature that is specifically designed for this kind of high
speed work.
Welding Your Tack Welds
Fabricating doesn’t need to take a lot of time. Once you get the feel for
this tack welding technique, line up your clamps, and work on a flat surface,
you’ll be ready to weld your newly fabricated work piece. Successful welding and
fabrication begins with making high quality tack welds.
For all of your TIG needs and safety gear, take a look at what Bakers Gas has to offer.

