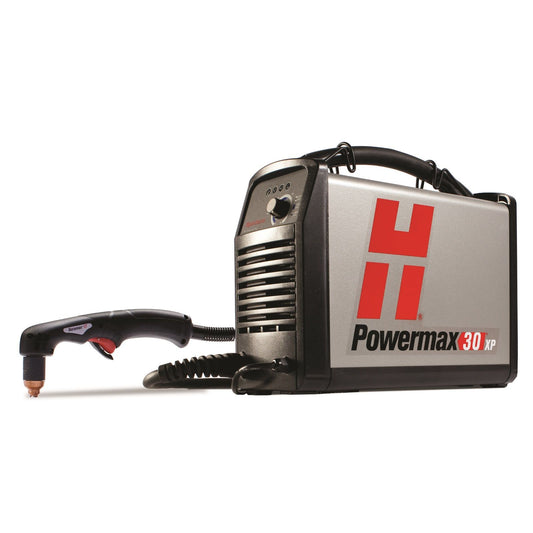
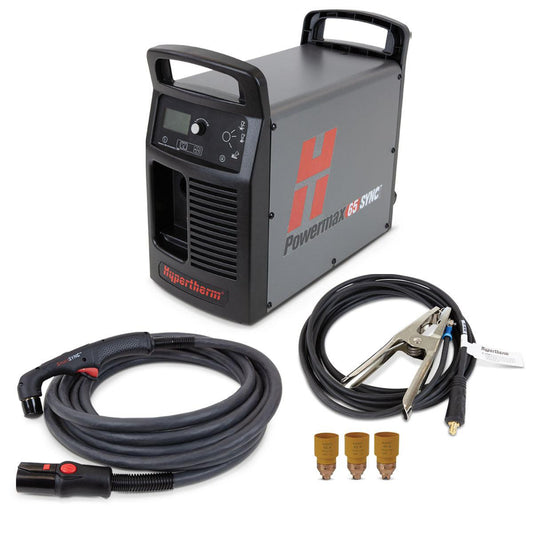
While plasma cutting might seem simple enough when you’re just getting started, experience shows us that there’s more to it than meets the eye. After you’re done reading the manual (very important!) and learning the basics of plasma cutting, there’s still a lot left to learn – especially if you’d like to improve your cut, prolong your equipment, and increase efficiency.
Below we’ve compiled a list of handy tips and tricks that will make plasma cutting work more enjoyable and, perhaps most importantly, more professional.
1) Setting Up the Work Area:
If you plan on doing any amount of plasma cutting, it’s a good idea to set up a workstation that is dedicated to the task. Your workstation does not have to be elaborate or expensive. Here’s what you need:
Your worktable can be made of wood or metal. It should be high enough for you to use your torch comfortably, but not so high that you have to stretch forward too far while cutting.
Use wooden blocks under your work piece to help draw off fumes while maintaining a good electrical contract. If you cut a hole in the table top below where the work piece will sit, you can use a fan unit beneath to help draw off fumes and even contain sparks with the use of an arrestor.
2) Securing the Ground Clamp:
Make it a habit to always secure the ground clamp to clean metal only. Avoid clamping to any metal that is painted or rusted as this can inhibit the flow of electricity.
It’s also important to secure the ground clamp as close to the intended cut path as possible. If possible, secure the ground clamp to the work piece itself. Periodically inspect the cables for loose connections, worn spots, or anything that might impede the electrical flow
3) Creating a Template:
The vast majority of cutting projects require the use of a template. When you create your template, make sure you take into account the radius of the cutting tip (or drag shield). This means that your cut line will be larger than the actual cut. In woodworking, this is known as the kerf.
The thickness of your template should be enough that the drag shield can ride along it without jumping over it.
You can also use a roller guide to maintain a consistent standoff and these guides are very good for making straight line cuts. Simply clamp a straight edge, piece of straight metal, or other straight guide to the work piece and follow along the edge.
Circle guides can also be used as standoffs and they allow for perfect cutting of various sizes of circles.
4) Correct Use of the Cutting Tip:
If you are working at less than 40 amps, you can place the cutting tip right on the material. However, if you are above 40 amps, you must either hold tip off the material by hand or use a suitable drag shield.
5) Steady Work is Clean Work:
Before you do any cutting make sure that you have braced yourself. Experts often do this by using the non-cutting hand for support. This tip will also help you to maintain a constant 1/16th – 1/8th inch standoff which is critical for professional level results. Also, many experienced cutters find it easier to pull the torch toward their body instead of pushing it away from their body.
6) Clean Air is Crucial for Best Results:
Unless you have a special need to do so, there is no reason to use compressed nitrogen or argon. You can use ordinary compressed air with great results. One note to this, however, some experienced plasma cutters believe they can get cleaner results when cutting stainless steel if they use nitrogen; however, the results are honestly not that different.
One thing to always remember is that oil and water will contaminate your compressed air supply. This will result in a great reduction on the life of your consumables. When possible, use a good in-line air filter to remove these contaminants before they get to your torch.
7) Make a Practice Cut First:
The best way to know that you are using the correct amperage settings and travel speed is to get a scrap piece of metal that is the same as the working metal and make a practice cut.
8) Moving Too Fast:
If during your practice cut, or during the actual work, you see sparks shooting along the top of the metal, you are going too fast and need to slow down. When the travel speed is correct, you will see the arc coming out at about a 20-degree angle and this will be in the opposite direction of the torch’s travel path.
9) How To Start the First Cut:
Most experts agree that starting the first cut and making the very last cut are the two places most novices encounter problems. The way to start the first cut depends on the thickness of the metal. If the metal is thin, you can simply place the cutting tip of the torch on the work piece and pull the trigger. This action will punch right through the material. However, for thicker metal, you want to start outside your cut line and angle the torch about 45 degrees away from your body; pull the trigger and roll the torch into a perpendicular position (straight up and down). Carefully move the torch to the cut line on the template and begin working along that line.
Keep in mind as your work that if the torch tilts, the cut will be beveled. Move your head if you cannot see the cutting arc, not your torch.
A very good tip, and one that can save both time and money, is to make it a habit to practice the cut line before turning on the arc. This will allow you to see if you are in the right position and how far you have to stretch before you actually begin cutting. Your non-cutting hand can be used to steady yourself as well.
10) Big Cuts, Little Cuts:
Some areas may be too small to cut with the torch. Mark these before you begin cutting. Cut the larger cuts first and then turn off the unit and go back and cut the smaller areas by hand.
11) Cutting Holes:
Your plasma cutter is a great tool for cutting bolt holes. This easy tip works every time: Simply pierce the metal, and then make the appropriate sized circle. Your cutter can pierce metal that is up to one-half of its cutting thickness.
12) Beveled Edges:
Beveling edges takes a bit of practice but the results can be outstanding. Beveled edges can used to better fitting between pieces but can also be used to cut through thicker pieces of metal.
To bevel an edge, you simply tilt the torch head to a 30- to 40-degree angle and make your cut. With some practice, you can master this technique in no time.
13) Troubleshooting Consumables:
If you find that your cuts are not clean or that the arc pilot is acting up, check your consumables before anything else. When consumables become worn, they will cause cutting problems and/or arc starting problems. You should inspect your consumables regularly. Look at the tip hole and if it appears irregular in shape, or if it is covered with spatter, it is time to replace it.
Also, the electrode, which is just beneath the tip, contains a small amount of a called hafnium. Every time the arc starts it will consume a small amount of hafnium. If you see a pit in the electrode, discard it.
Lastly, you should be careful to not over-tighten the retaining cup. The parts that are inside the consumables retaining cup need to move in order to create an arc. The cup should only be hand-tight.
14) Making the Last Cut:
The last cut is often a problem for novices. There are two tricks you can use to get a clean last cut. The first is to pause for a second as you get to the very last part of the cut to allow for a cleaner cut. The second trick is to roll the tip of the torch towards the final cut edge. These tricks are especially helpful when cutting thicker materials, but will work on all thicknesses.
15) Cleaning Up Your Work:
You can use a grinder or a piece of scrap metal to knock off any dross that you find after cutting. You might also want to invest in a chipping hammer as these are very affordable and can make the cleaning up process easier.
Conclusion:
By using these tips, your plasma cutting will be more enjoyable and less costly. Try them out and remember – practice makes perfect! For great deals on plasma cutters and genuine consumables check out Bakersgas.com


