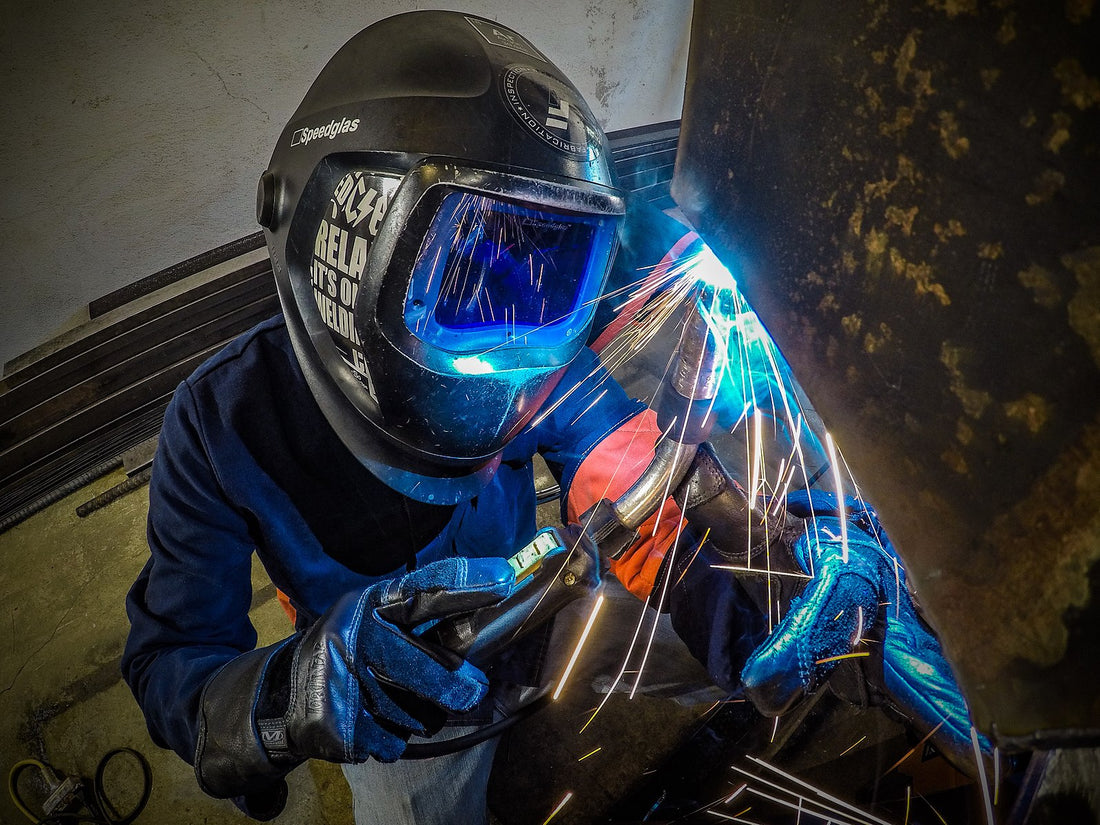
When you’re MIG welding overhead, every welder will tell you that the same basic principles apply as a horizontal weld joint on your welding table. Before you let this out of position weld psyche you out, there are some basic welding tips you can consider and put into practice when you strike your arc and get to work. Here are some simple MIG welding tips you can put into practice right now:
Check Your Wire Feed Speed
One of the more common problems with overhead MIG welding is that you could overcompensate for being out of position by turning your wire speed too slow. While you don’t want to run it too fast and leave lumps of molten wire dripping down your arms, too slow a speed will be extremely frustrating and slow. Play it safe, but not too safe!
Learn How to Stack Your Welds
When you have to overhead MIG weld a large joint, begin with a pass down the center of the joint. You’ll follow this by starting your second pass centered along the bottom of your first pass so that you touch the bottom and then cover up the first pass to the center of the weld. Your third pass will begin at the top of your first pass and then meet up with the second pass.
Keep a Short Stick Out
The longer your stick out, the more metal you’ll drop into the weld joint and the bigger mess you’ll have on your hands. The key to MIG welding overhead is this: control. If you keep your MIG wire stick out short, you’ll have much better control.
Keep the Arc Short
The shorter your arc, the greater your control over the torch. Your weld will be cleaner and the welding process significantly easier if you avoid running the arc all over the metal work piece.
Run Your MIG Welder Hot
Use the same settings as flat MIG welds because you need enough force to push your filler metal into the weld joint.
How to Move Your MIG Gun
Move so that you make a series of cursive “u’s” as you weld along the joint. The advantage of this is you’ll lay enough wire in order to build up the weld joint without leaving a lot of extra filler metal that could lead to a sloppy weld.

Having said that, you may run into situations where running stringer beads is more practical. In fact, larger overhead MIG joints will always call for a stringer beads that you’ll have to layer up.
Use Both Hands to MIG Weld
If you can prop your torch or keep both hands involved in your overhead MIG welding work, you’ll have greater control over the welding torch. This may not be quite as critical as you gain more experience and become more comfortable with welding overhead, but if you’re just starting out and you’re concerned about a wandering arc, there’s nothing wrong with using your free hand to keep things steady.

Don’t MIG Weld with Too Sharp an Angle
Too much angle will lead to a wandering arc and could leave some burn marks and wreck your weld. While you’ll need a slight angle, since welding straight in will make it hard to see what you’re doing, keep an eye on how much angle you use. If you’re struggling, that’s the first thing to check.
Drag the Torch When You MIG Weld
Dragging the torch along the weld joint much like walking a TIG cup is another way you can create a stable welding set up. If your weld joint is tight or you’re struggling to keep your torch steady as you create your cursive “u’s” in a neat and steady line, you can cheat a little by using the metal to prop your hand in order to help brace your torch more effectively.
Don’t Forget a Welding Helmet
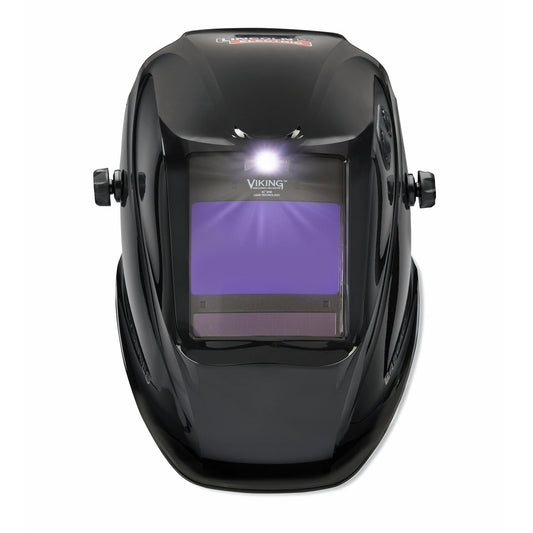
Welding overhead could lead to all kinds of hot, simmering metal and spatter landing on your head and arms. You don’t want to add to the stories of welders who have had hot drops of metal land in their ears. Welding helmets aren’t too expensive, and the more expensive models provide features that will make them worth your while, such as a light weight, large viewing area, and sufficient coverage for your neck from sparks and UV rays. A welding helmet is one of the most important investments you can make for your welding set up.


