
Today’s guest post is by Ben Romenesko of Miller Electric.
Do wire feed troubles with your MIG welder ever leave you frustrated? Burn
back, wire slipping, birds nests… These are just a couple common problems
customers call us about. The wire feed system is vital to successfully getting
your MIG welder to perform.
Today I’ll walk you through the key components in the wire feed system so you
know what to look for in each component.
Spool Hub
The first place you’re going to want to look at is the source of your wire:
the spool hub. The inner spring on your spool hub sets the brake tension on your spool of wire. The intent is to prevent the spool from over-spooling when the wire stops feeding, but there is a fine line between over-spooling and over-tensioning the spool.
I like to optimize the brake tension by turning the wire feed speed to its max and then cycling the trigger with at least 6” of run out. The spool should coast so the first loop of wire just starts to loosen on the spool. A general factory setting is having the tension nut flush with the end of the threads, but each hub is slightly different. Be sure that when putting a spool in the machine the loose end of the wire is not fed through any of the other loops. This will cause feeding problems.
Wire Drive
The second place to look for wire feed problems is the wire drive. There are
two main adjustments at the wire drive; the drive roll groove and the drive roll
tension. First, you’ll want to check to be sure the diameter of weld wire
matches the drive roll groove you’re using. Be sure to use a knurled roll for
flux core welding and a V-groove roll for steel. The knurled groove provides
more traction on the softer flux cored wire so the drive doesn’t crush the wire.
A knurled groove will provide more traction on solid wire, but it will also plug
the gun liner much faster as well so we don’t recommend it on solid wire.
The other component of the wire drive is the drive roll tension. This is
adjusted with the numbered tension knob seen in the picture. More tension is not
always the best. Cranking down the tension all the way deforms the wire, causes
shaving that plugs your gun liner, and allows the drive to birds nest. Not enough
tension will cause wire to slip in the drive rolls and result in inconsistent
wire feed speed. Under the hood, it will look like the arc is pulsing. Here is a
brief video that goes through the proper way to set your drive tension.
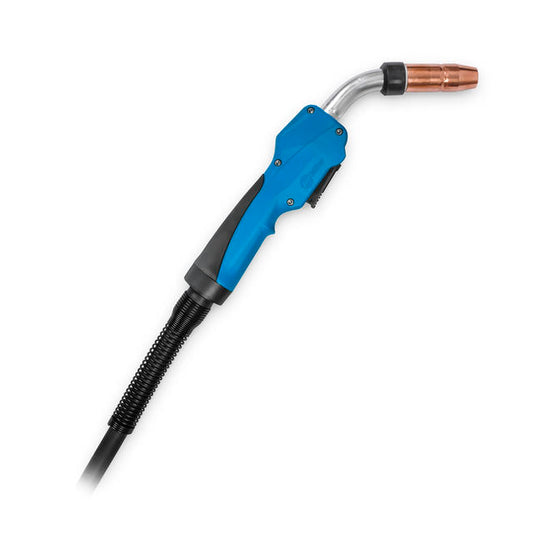
MIG Gun
The final component of the system is the MIG gun. The first thing to check is
that your gun is completely inserted in the drive casting and tightened down
with the thumb nut. The next component to look at is the contact tip. The size
of the tip printed on the side, needs to match your diameter of wire. As contact
tips wear, that hole will start to become oblong. This will change how the
current picks up through the tip and potentially cause weld performance issues.
If the hole looks out of round, replace the tip.
If you’ve checked all of these things and you still see problems with wire
feeding, it may be time to change your gun liner. There is a monocoil liner
inside the MIG gun that guides the wire from the drive rolls to the contact tip.
They can become kinked, plugged, or just wear out over time. As an initial step,
compressed air can be used to try to clean out shavings that plug liners. This
should be done on a routine basis to extend the life of your liner.
Liners are a consumable of the MIG gun so they are relatively inexpensive if you need a new
one. They turn out with a nut on the power-pin end. New liners need to be trimmed
to length so you need to remove your contact tip when replacing a liner. Also
note that it’s important to lay the gun out straight when replacing the liner so
you cut it to the correct length. Here is a video that
walks you through changing your liner.
Wire Feed Troubleshooting
| Symptom | Possible Causes |
| Birds nests |
|
| Wire won’t pass through torch |
|
| Drive roll slips on wire |
|
| Arc length is inconsistent |
|
| Burn back (pinned contact tip) |
|
| Wire feed starts slow |
|
About Today’s Guest Blogger

Ben Romenesko has been with Miller for over 5 years and his entire career has been spent with the Millermatic products. He originally came to the company as a mechanical engineer. He is currently a product manager at Miller’s Integrated MIG systems and oversees the Millermatic and ArcStation products.

2 comments
Miller 252 wire feed will not work
am having this trouble millermatic 211 is melting the wire at the roller some ideas why thank you